hacking the Ooni Koda, part 2
Yeah, I know it's been a stupidly long time since part 1 but I've been busy and we also had a long, dreary winter in Portland during which using my pizza oven outside wasn't even a possibility. Also not being able to invite anyone over has meant making less pizza. But I'm finally back to it, and making more changes to my Koda.
If you recall from Part 1, one of the unsolved issues I have with the Koda (as do many other folks) is the back-to-front temperature differential, which can be up to 300F different. This tends to result in pizzas burning in back while they're just starting to cook in front, and thus a lot of skillful work with pizza spinners or a turning paddle. I wanted something more relaxed, particularly something that would also work with harder-to-turn items like pide and galettes.
The first thing I tried was swapping out the pizza stone for an improvised "pizza steel", just a 1/4" steel plate. The idea was that the conductivity of the steel would transmit more heat to the front of the oven. This was not a success; the pizzas on it burned their bottom crusts before the cheese was done.
So after that, I started looking at turntables. A number of folks sell motorized spinning pizza stones for the Koda online, but I didn't want anything so bulky. For me, one of the main assets of the Koda (at least, during normal times) is its portablity; at half an hour's notice I can toss it in the trunk and have a pizza party at a friend's house. I wanted something lighter-weight, simpler, and cheaper.
And, I succeeded in making one! You can too. Here's what you'll need:
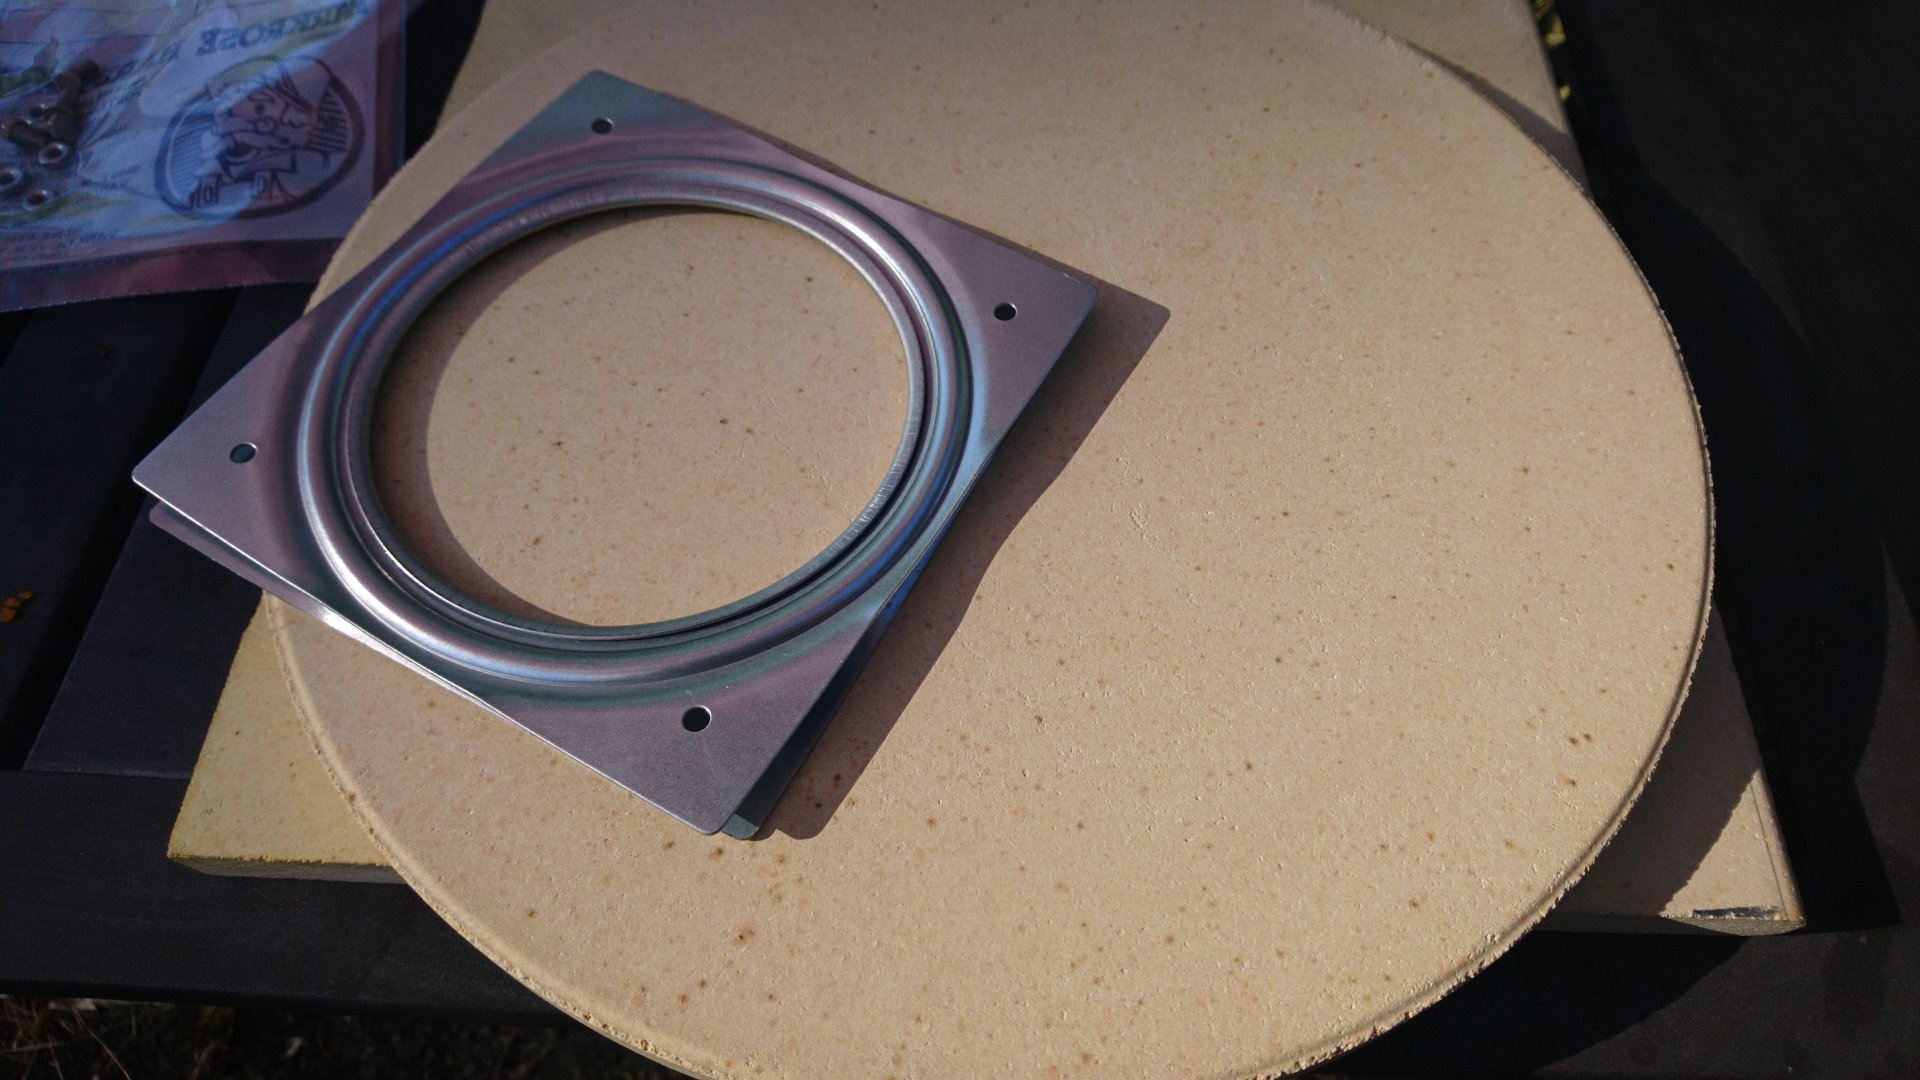
- 12" to 13" circular corderite or lava stone
- 1 6" steel "lazy susan" turntable
- Four 3/8" machine bolts and matching nuts that fit the holes in the turntable
- 1 tube JB Weld High-Temperature Epoxy Putty
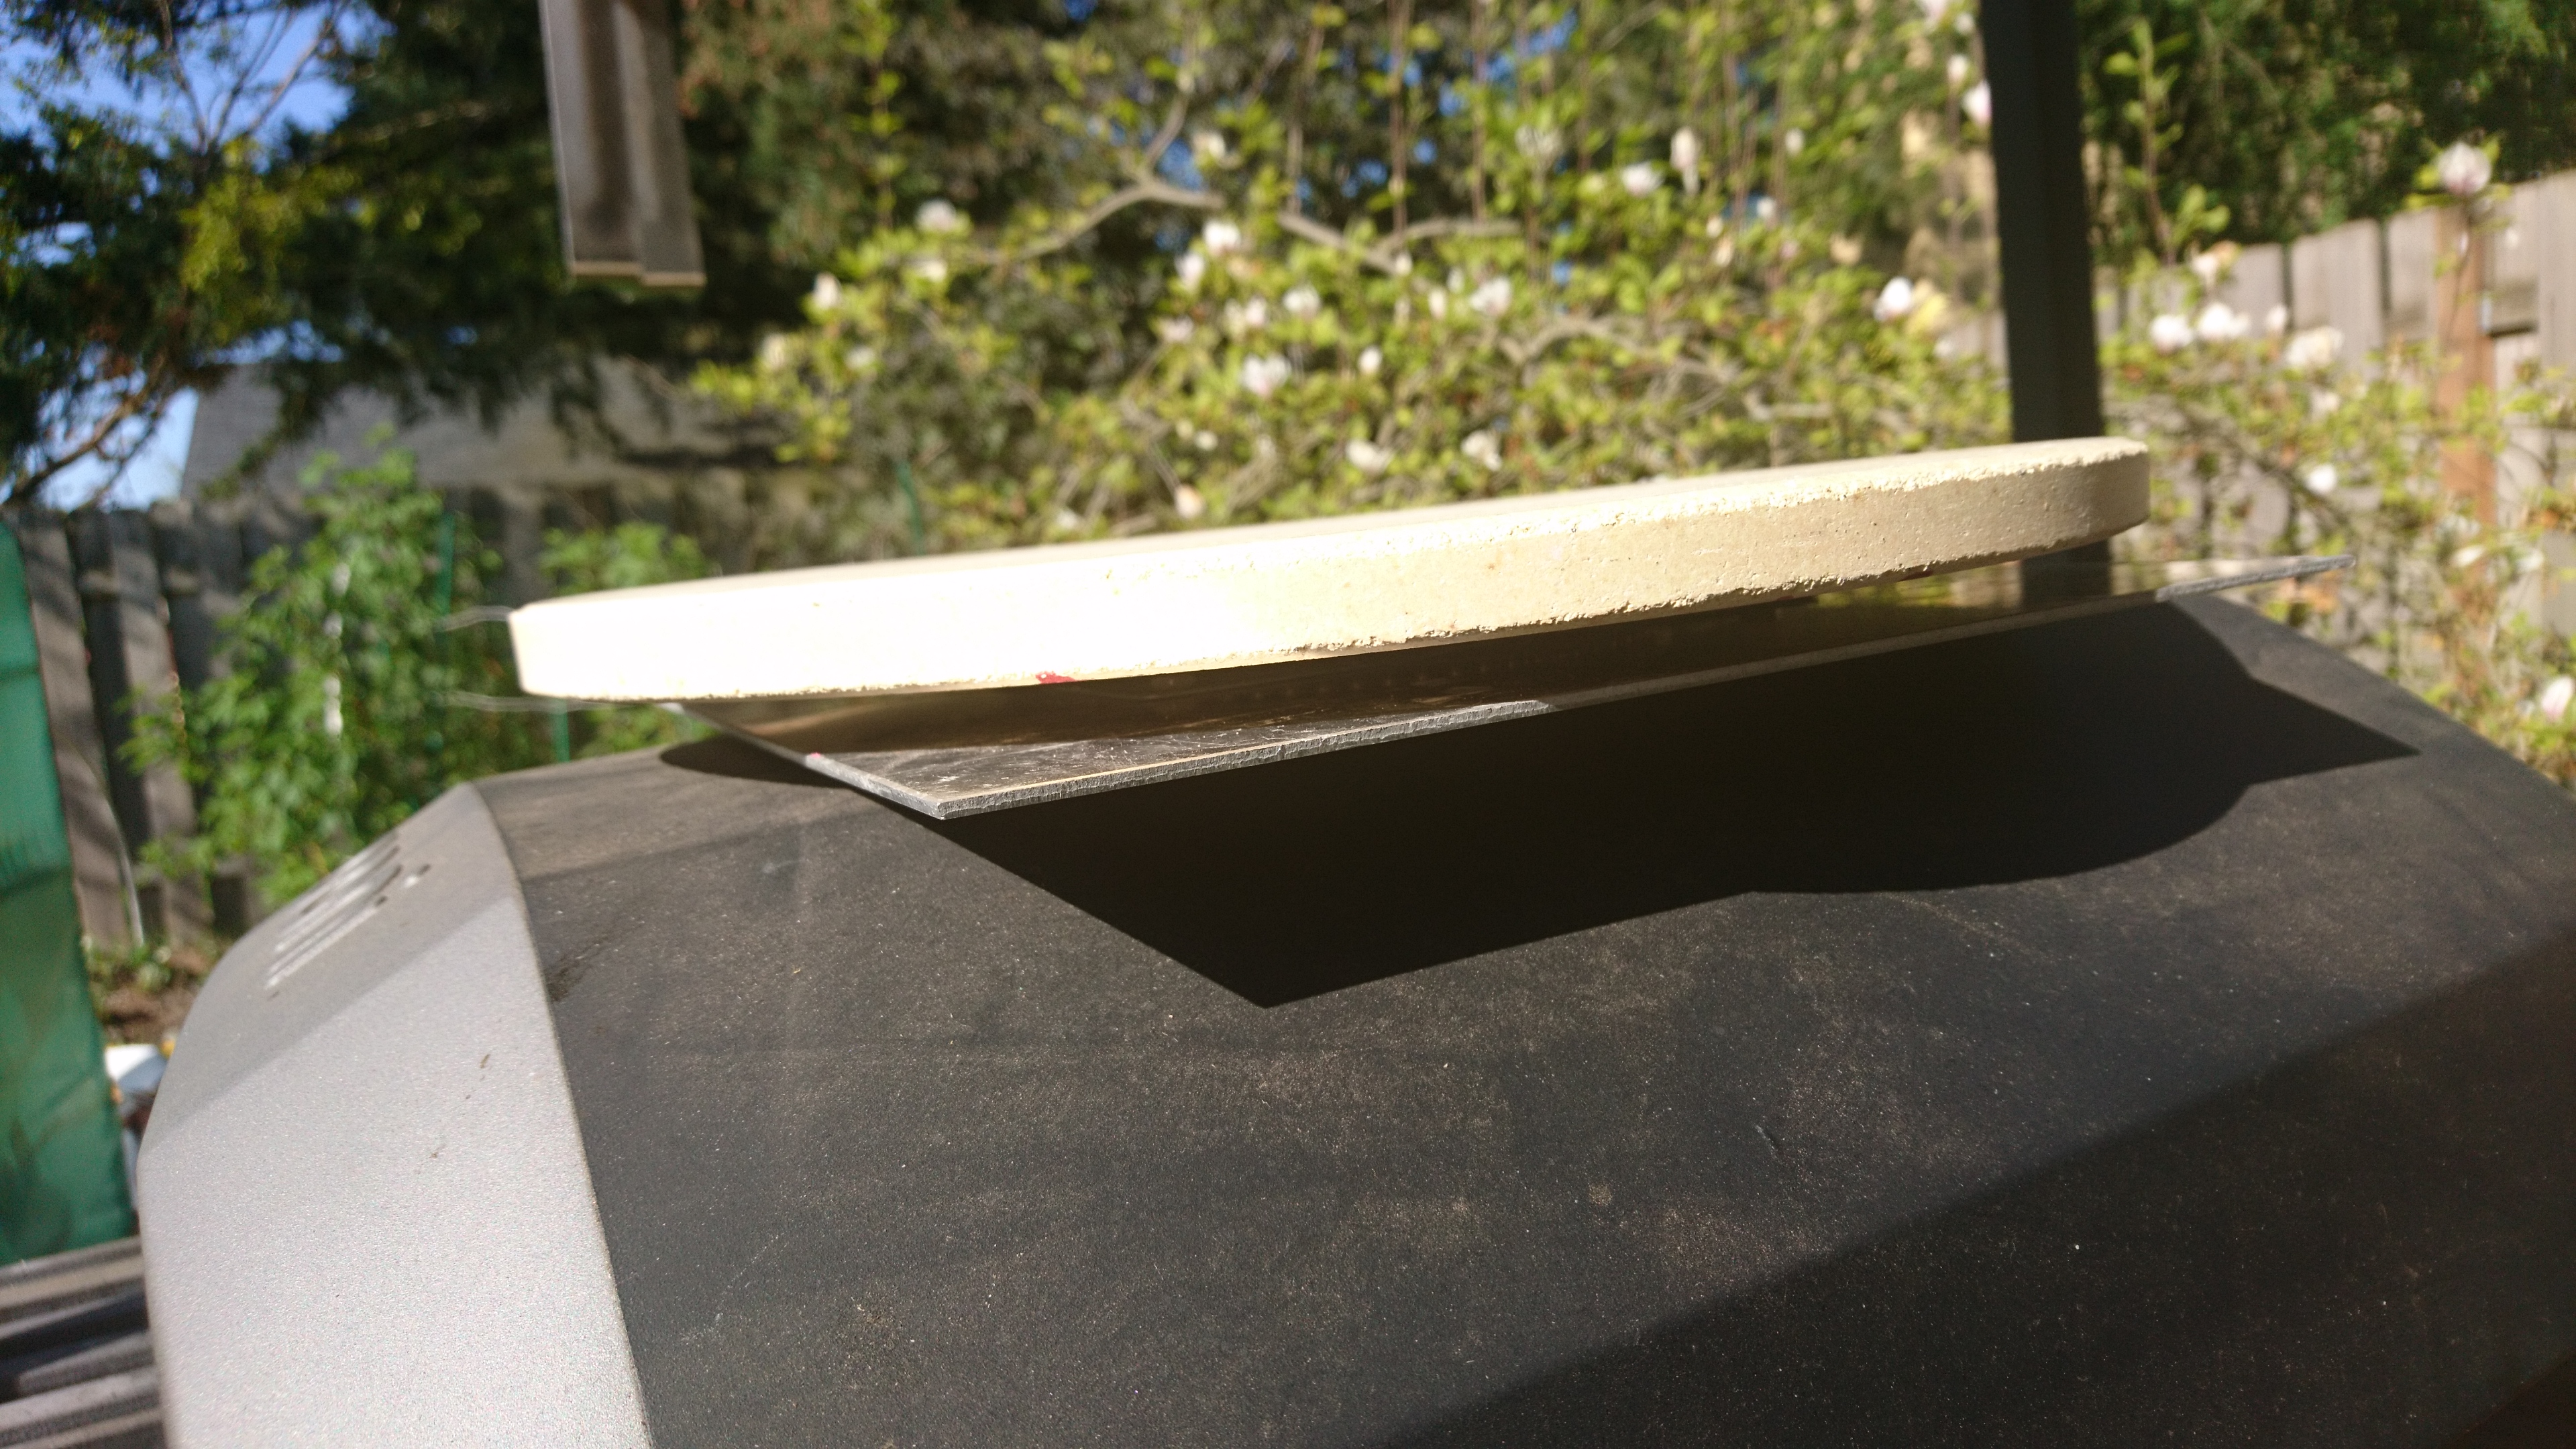
- One 12" square piece of scrap steel, around 1/8" thick.
Since I'm also a potter, I got my 13" round corderite from a kiln supply place, allowing me to get one that's 1/2" thick, but the standard ones should also work. Astute metalworkers will notice that the High Heat epoxy is only rated to 500F, which is risky for a pizza oven. However, the JB Weld Extreme Heat epoxy, more of a patching compound, did not have enough grab onto the corderite to work; I tried it and it broke off. So we'll see if the High-Heat epoxy holds up.
Now, here's how to assemble:
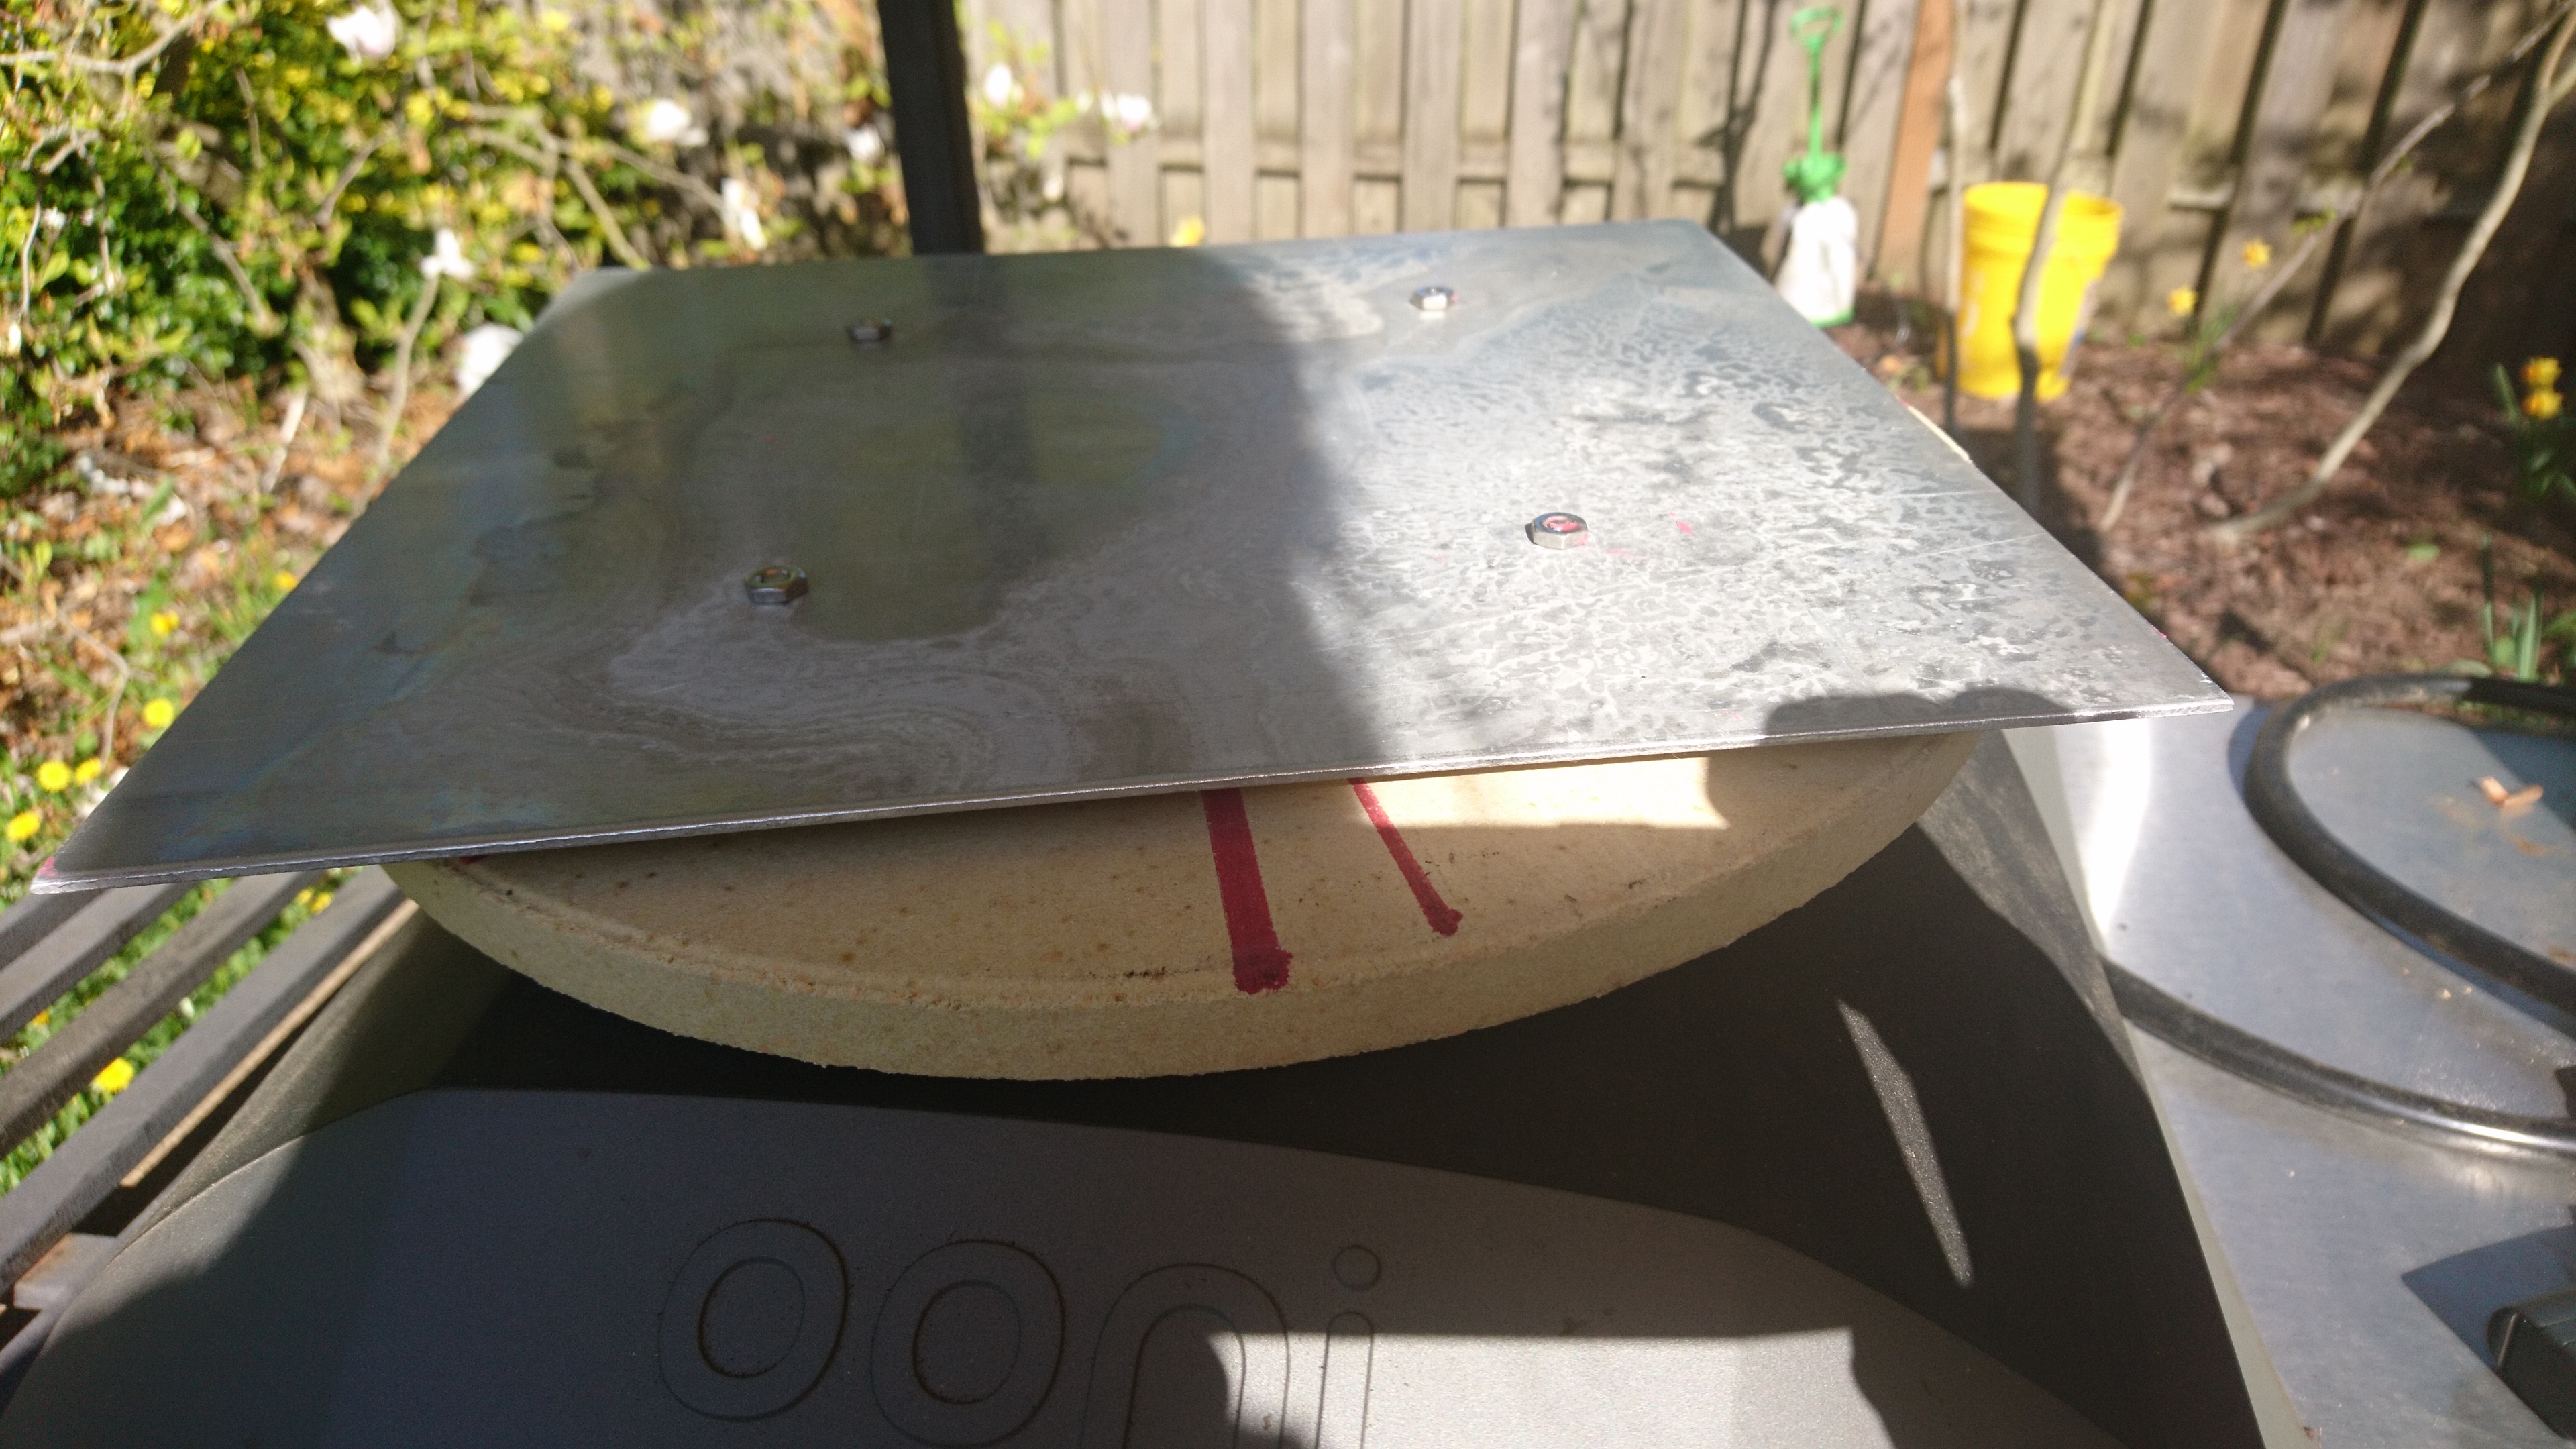
- Center the turntable precisely on the scrap steel, using the side with the larger screw holes. Mark the holes and drill them to fit the machine screws.
- Set the steel plate aside. Put the machine screws pointing out through the holes in the turntable. Secure them loosely with the nuts.
- Very very carefully center the turntable's other side (the one without the screws) on the stone. You really can't be too exacting about this; if it's off-center by more than 1/4", the stone will not work for you. I spent like 1/2 hour with a t-square and compass. Mark where the corners of the centered turntable go.
- Mix up the epoxy putty and put around 1/2 tsp of it in each of those 4 corners, smashing it flat into the stone. Rough up the corners of the turntable with steel wool or a dremel.
- Press the turntable into the putty, making sure it's re-centered. Press it really firmly, the putty is tough. Leave to dry for 24 hours.
- Put a wedge or putty or something (but not the epoxy putty) under each machine screw to hold it up. Carefully remove the nuts and line up the holes on the steel plate with the screws. Secure the plate to the turntable with the nuts.
- You now have a pizza turntable for your Ooni!
So, how did it work? Well, take a look:
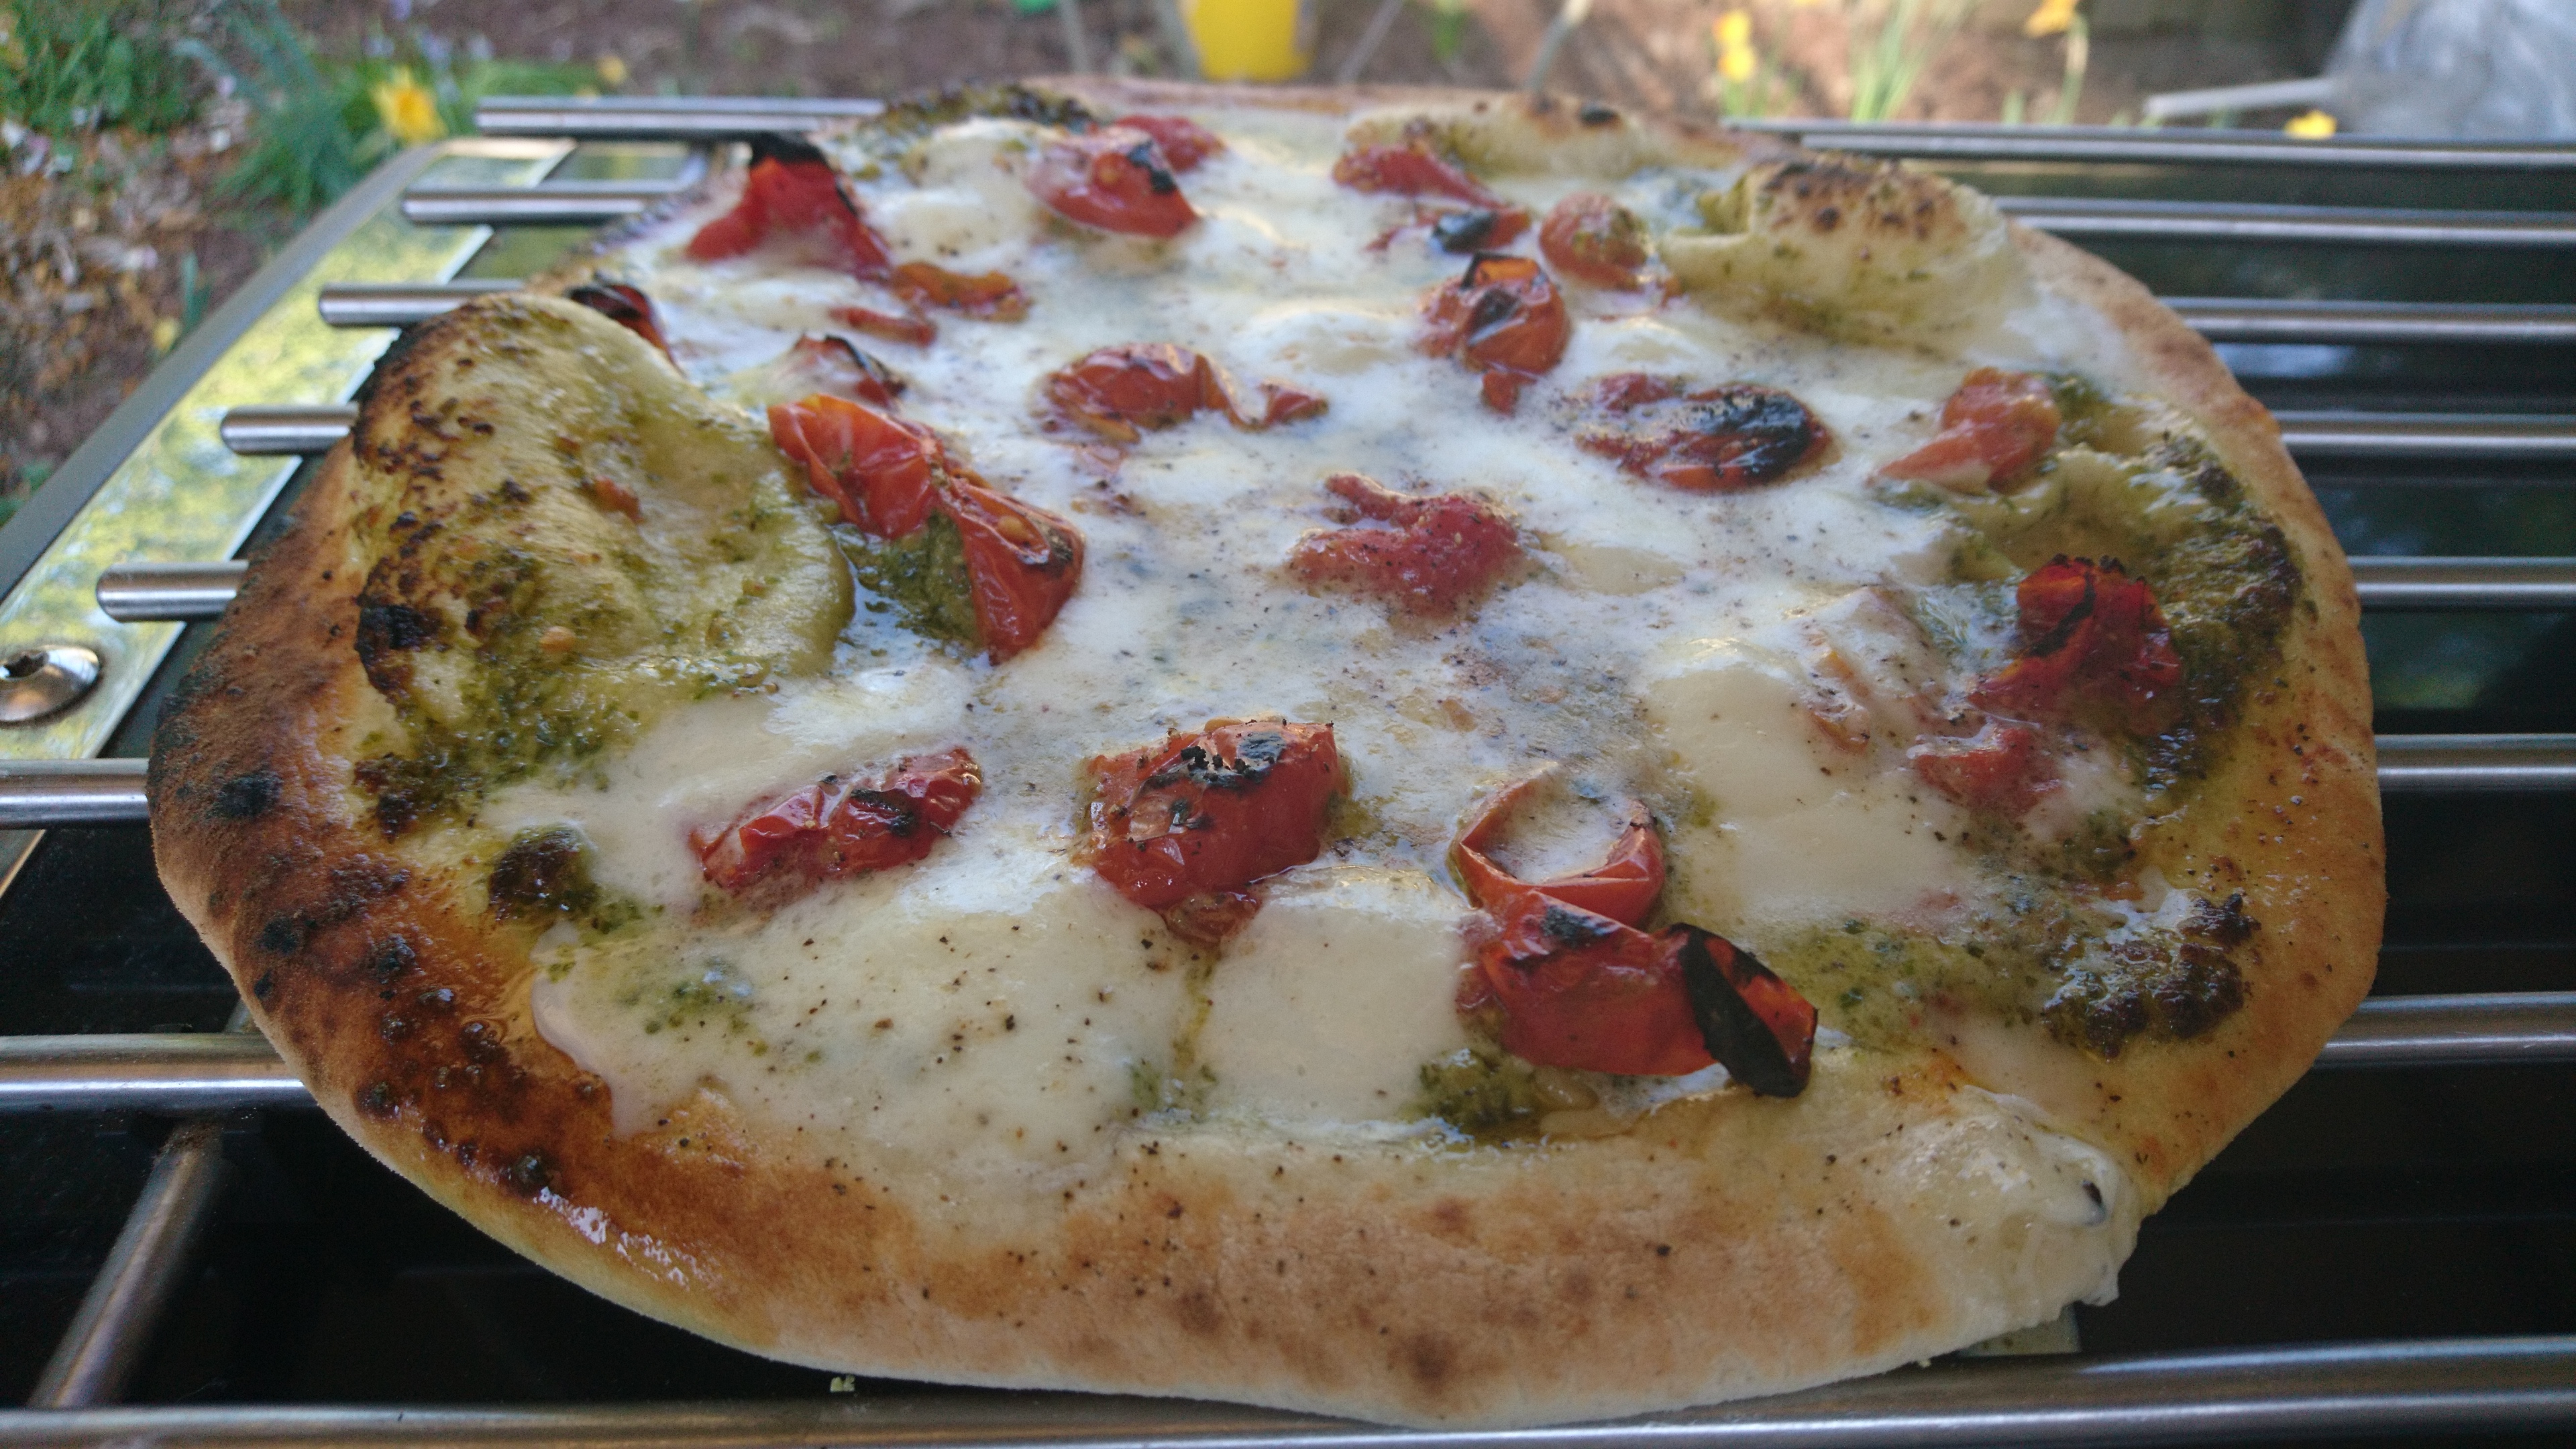
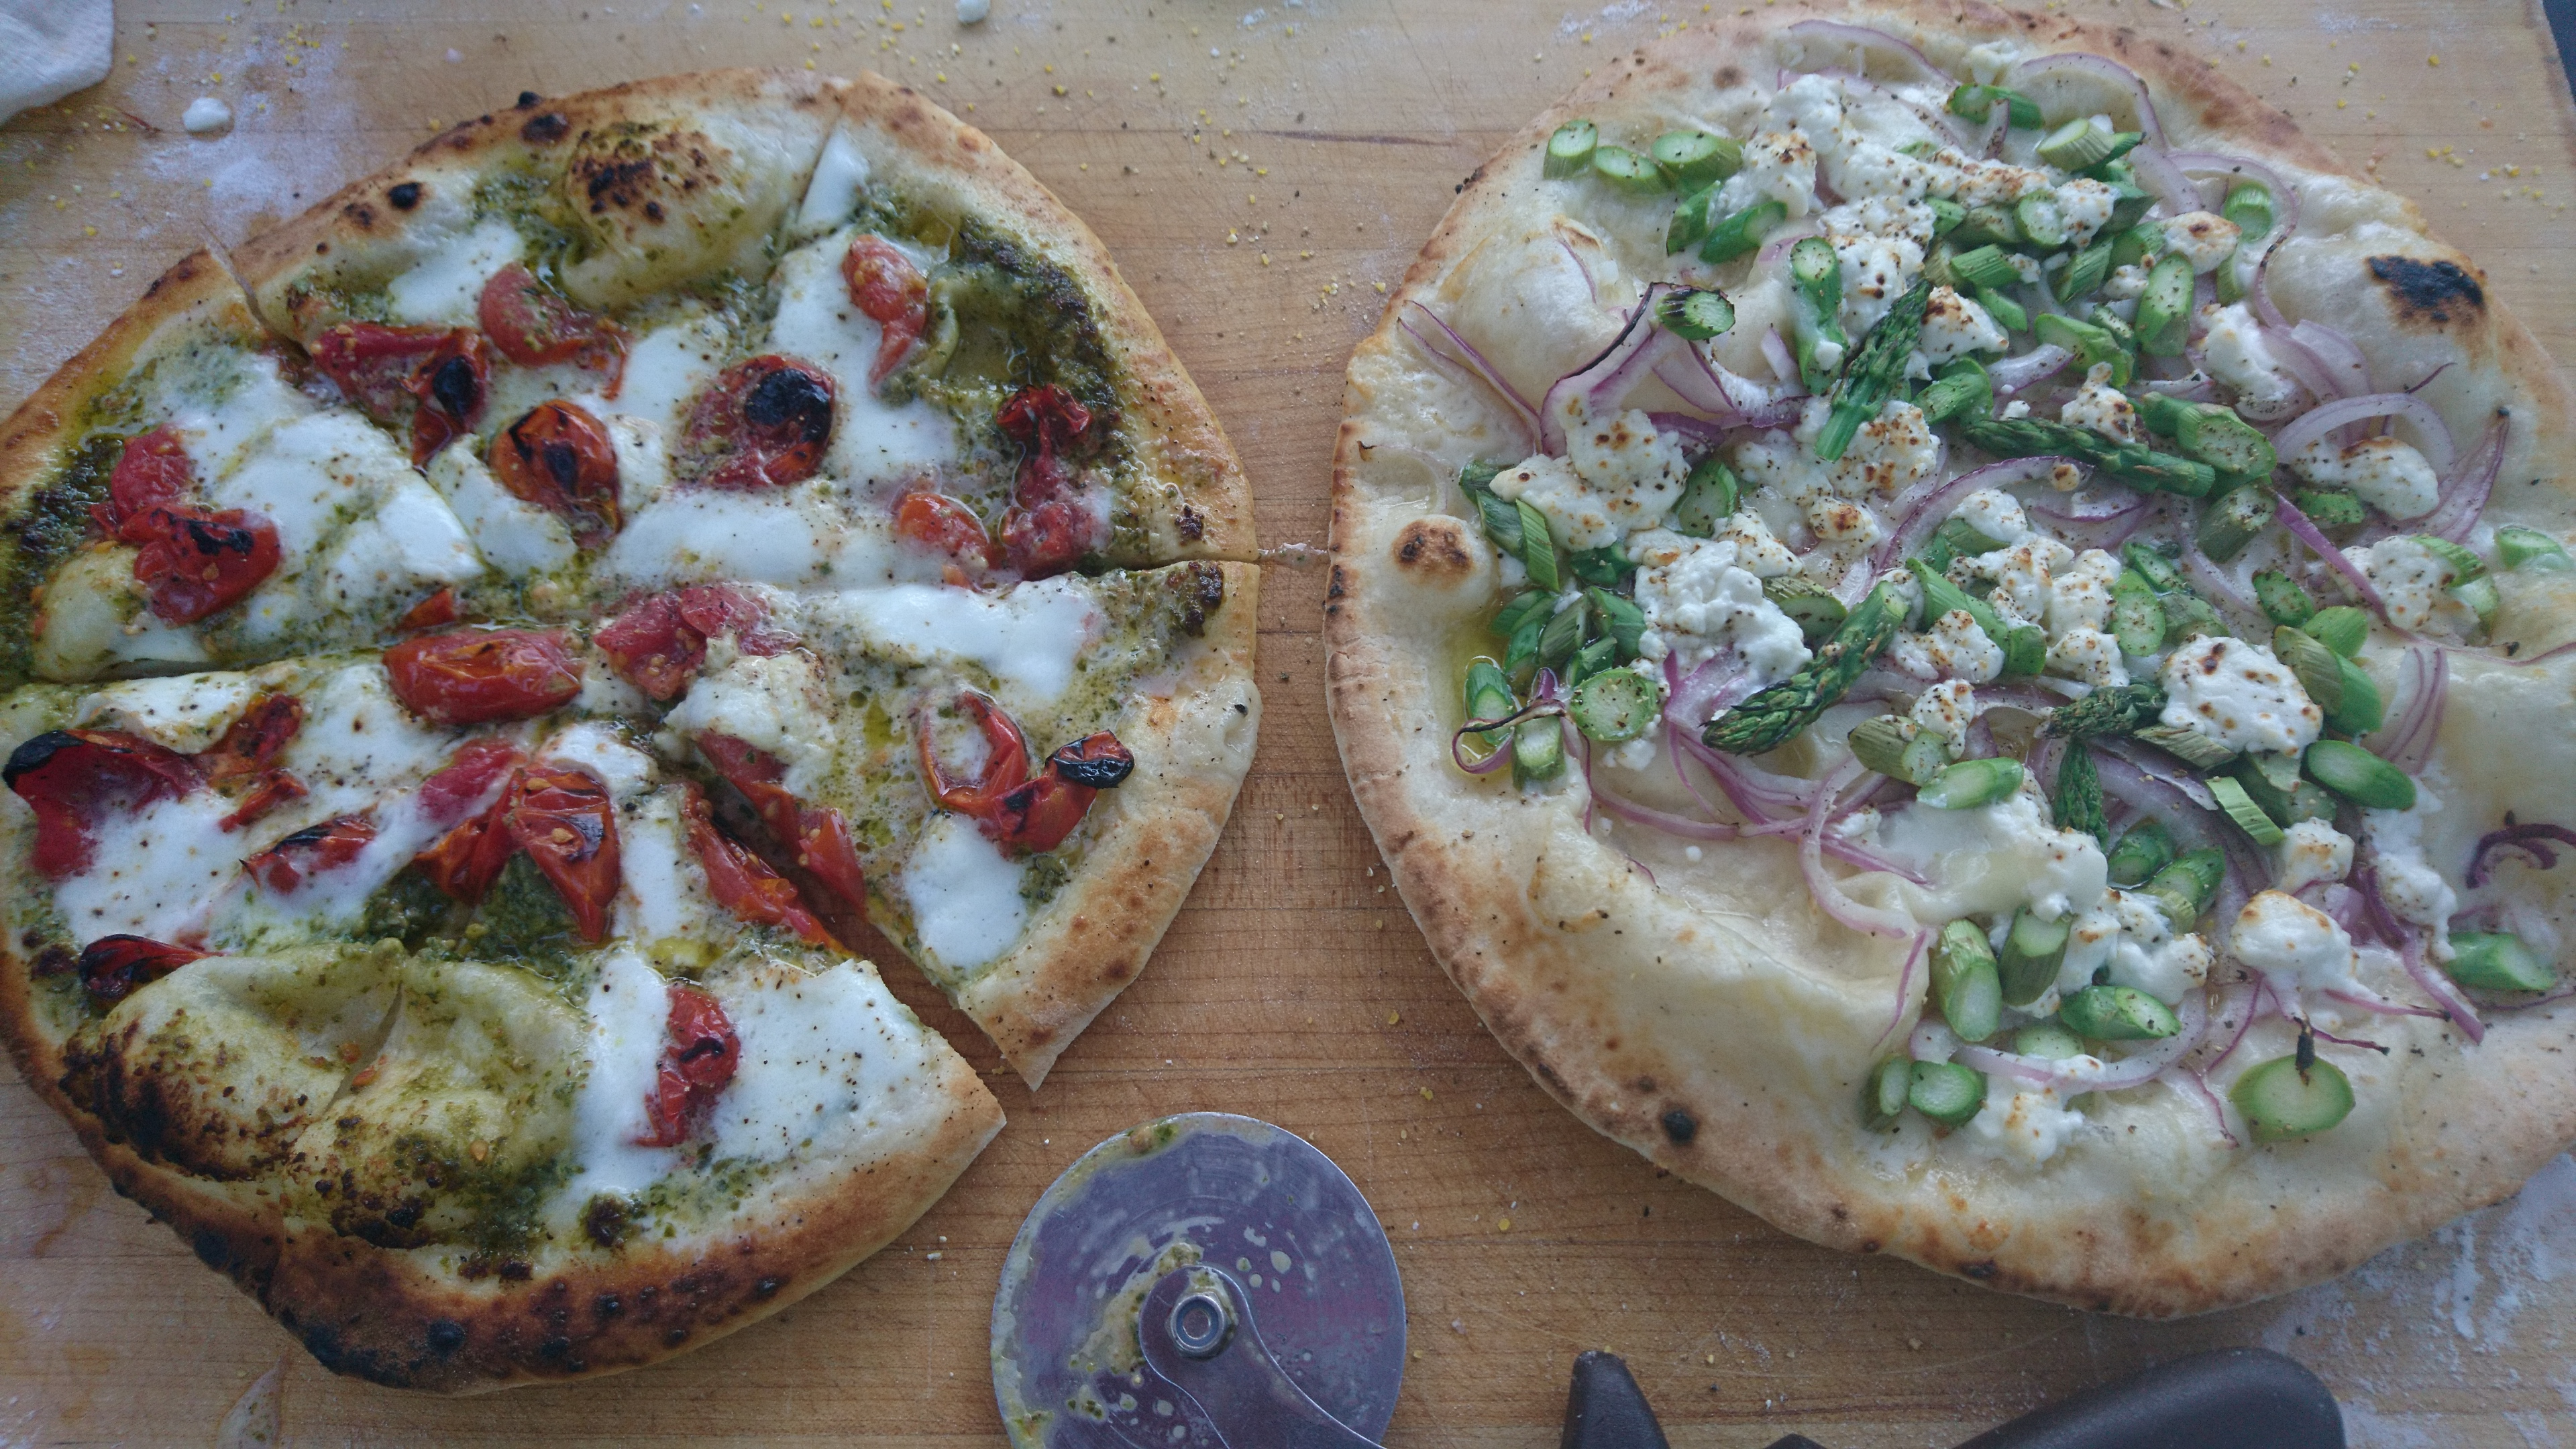
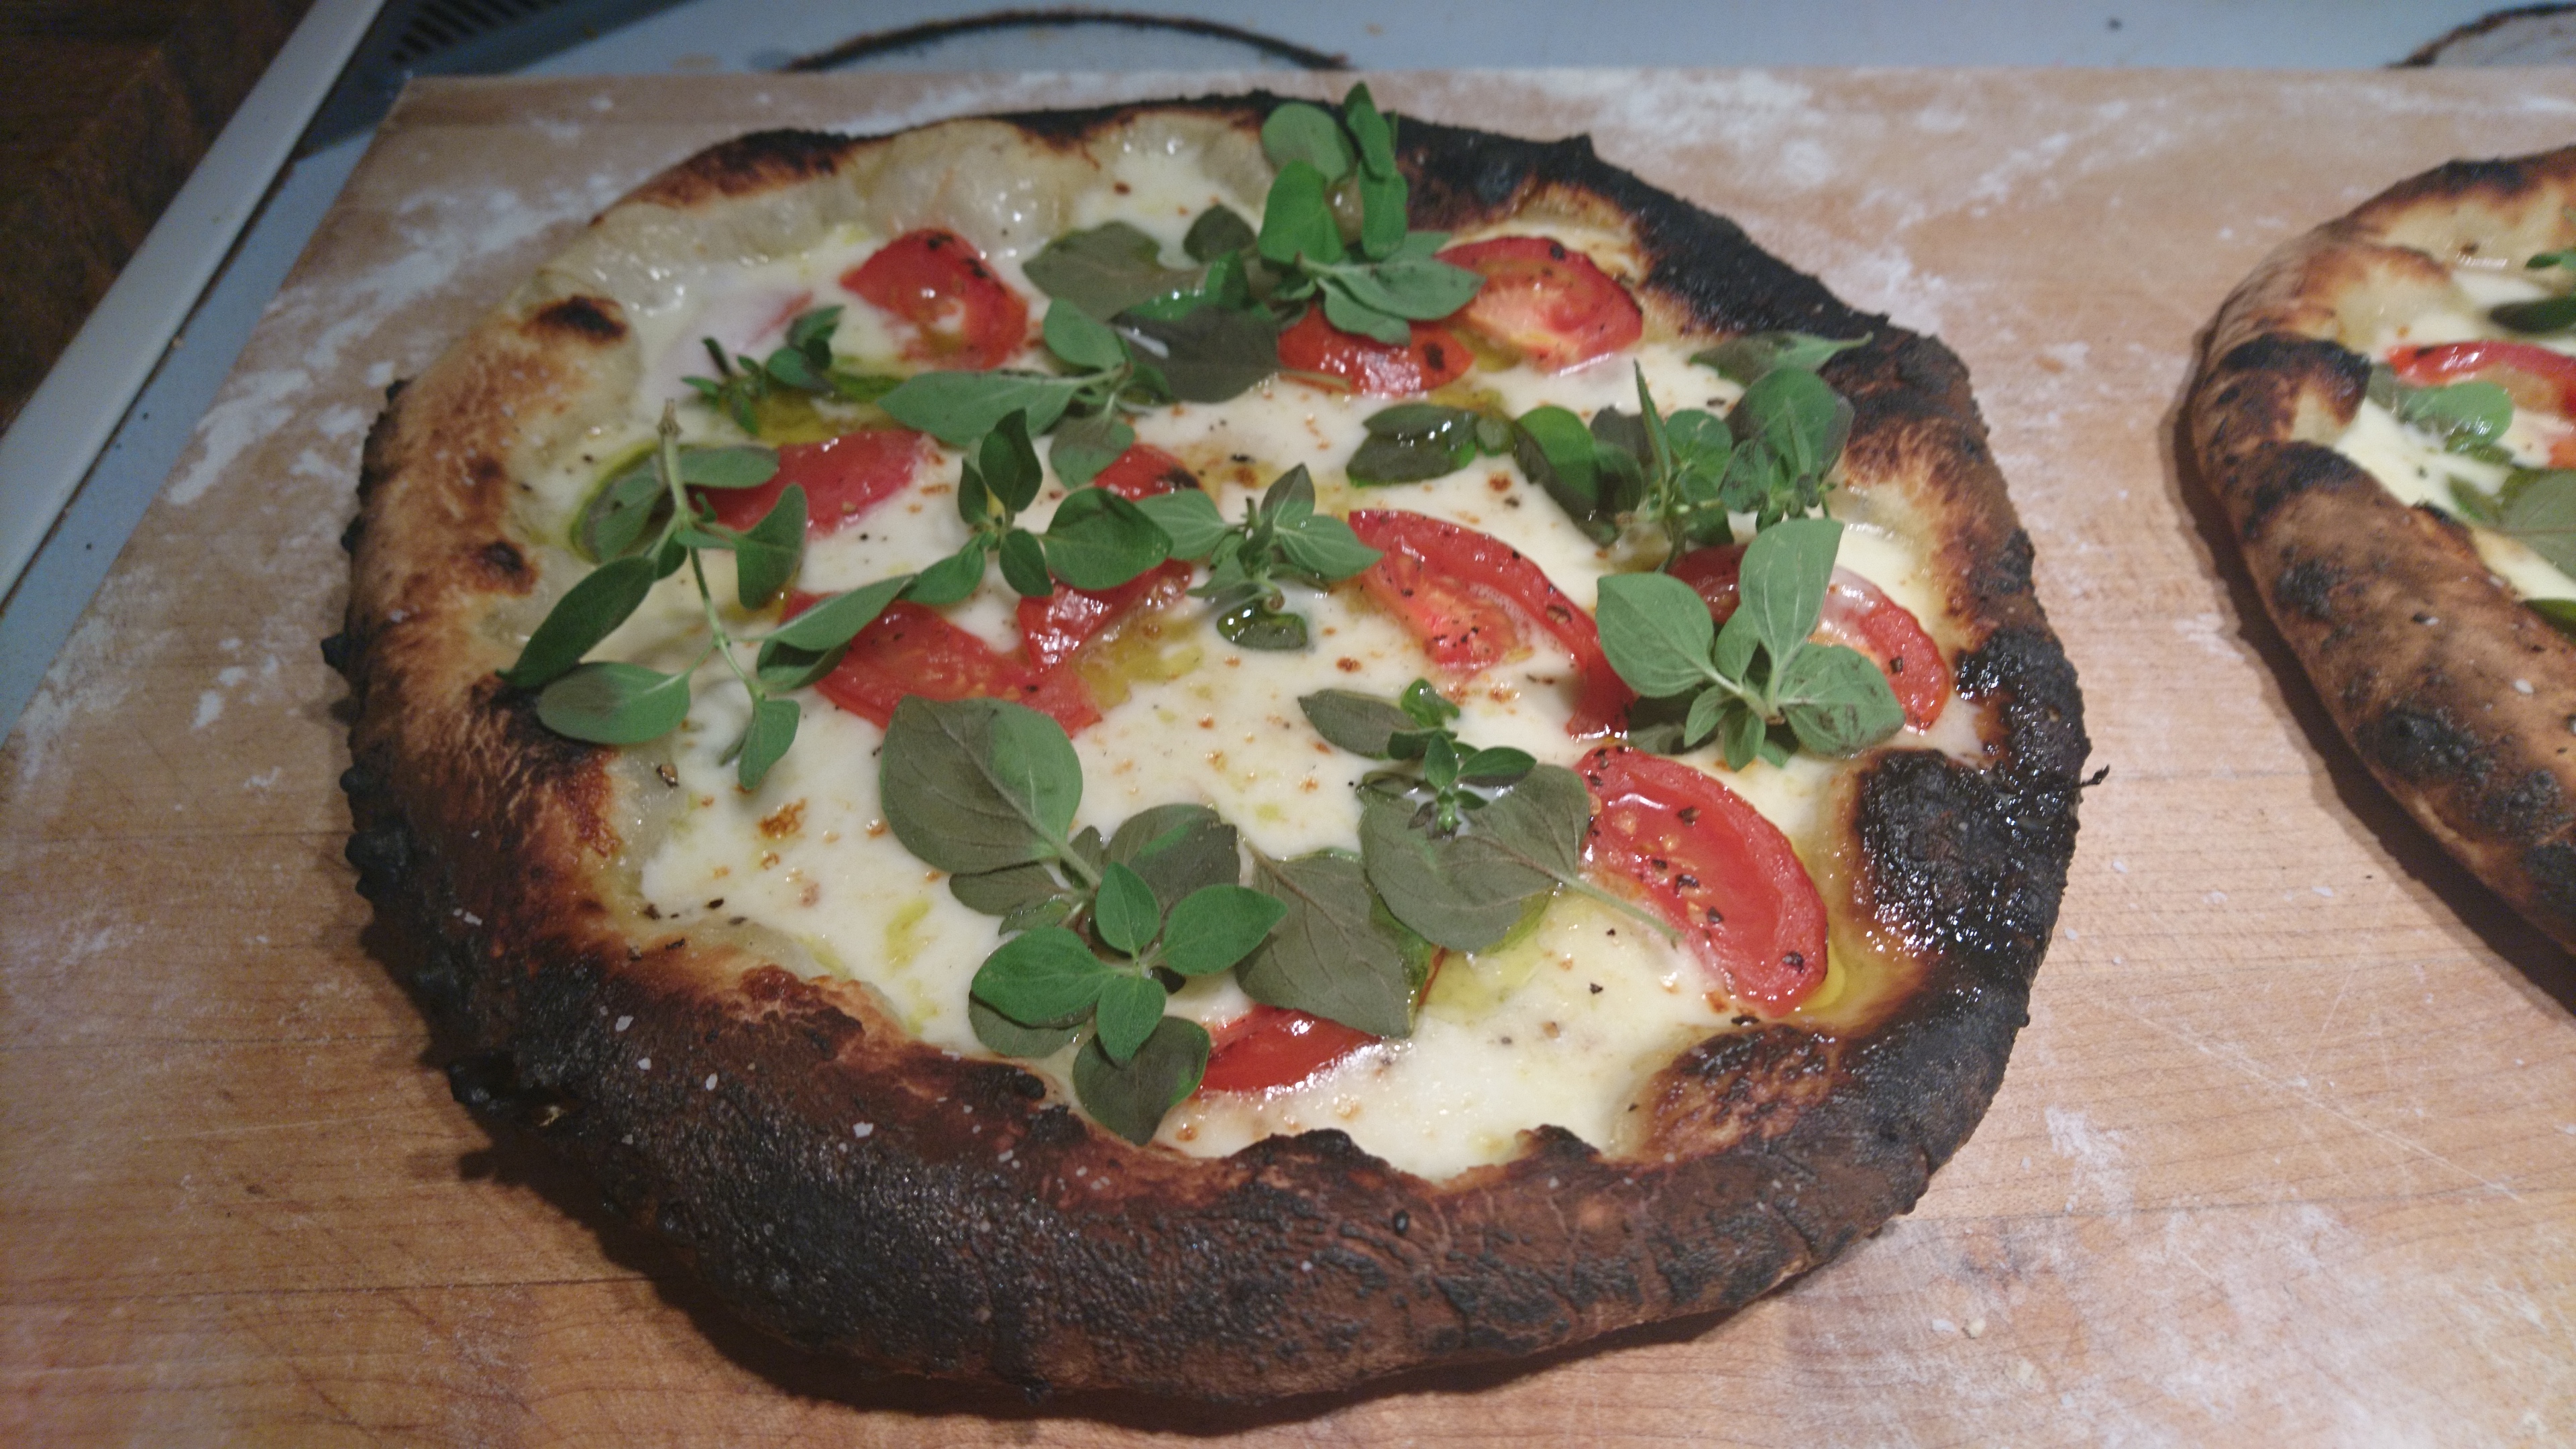
See! No more burned edges! Perfect leopard-spotting of the crust. It was so easy, much more relaxing than frantically turning the pizza with the spinners (although I did use one of the pizza spinners to spin the stone. Do not use your fingers).
That's a "winter margarita pizza", with buffalo mozzarella, frozen pesto, and canned cherry tomatoes.
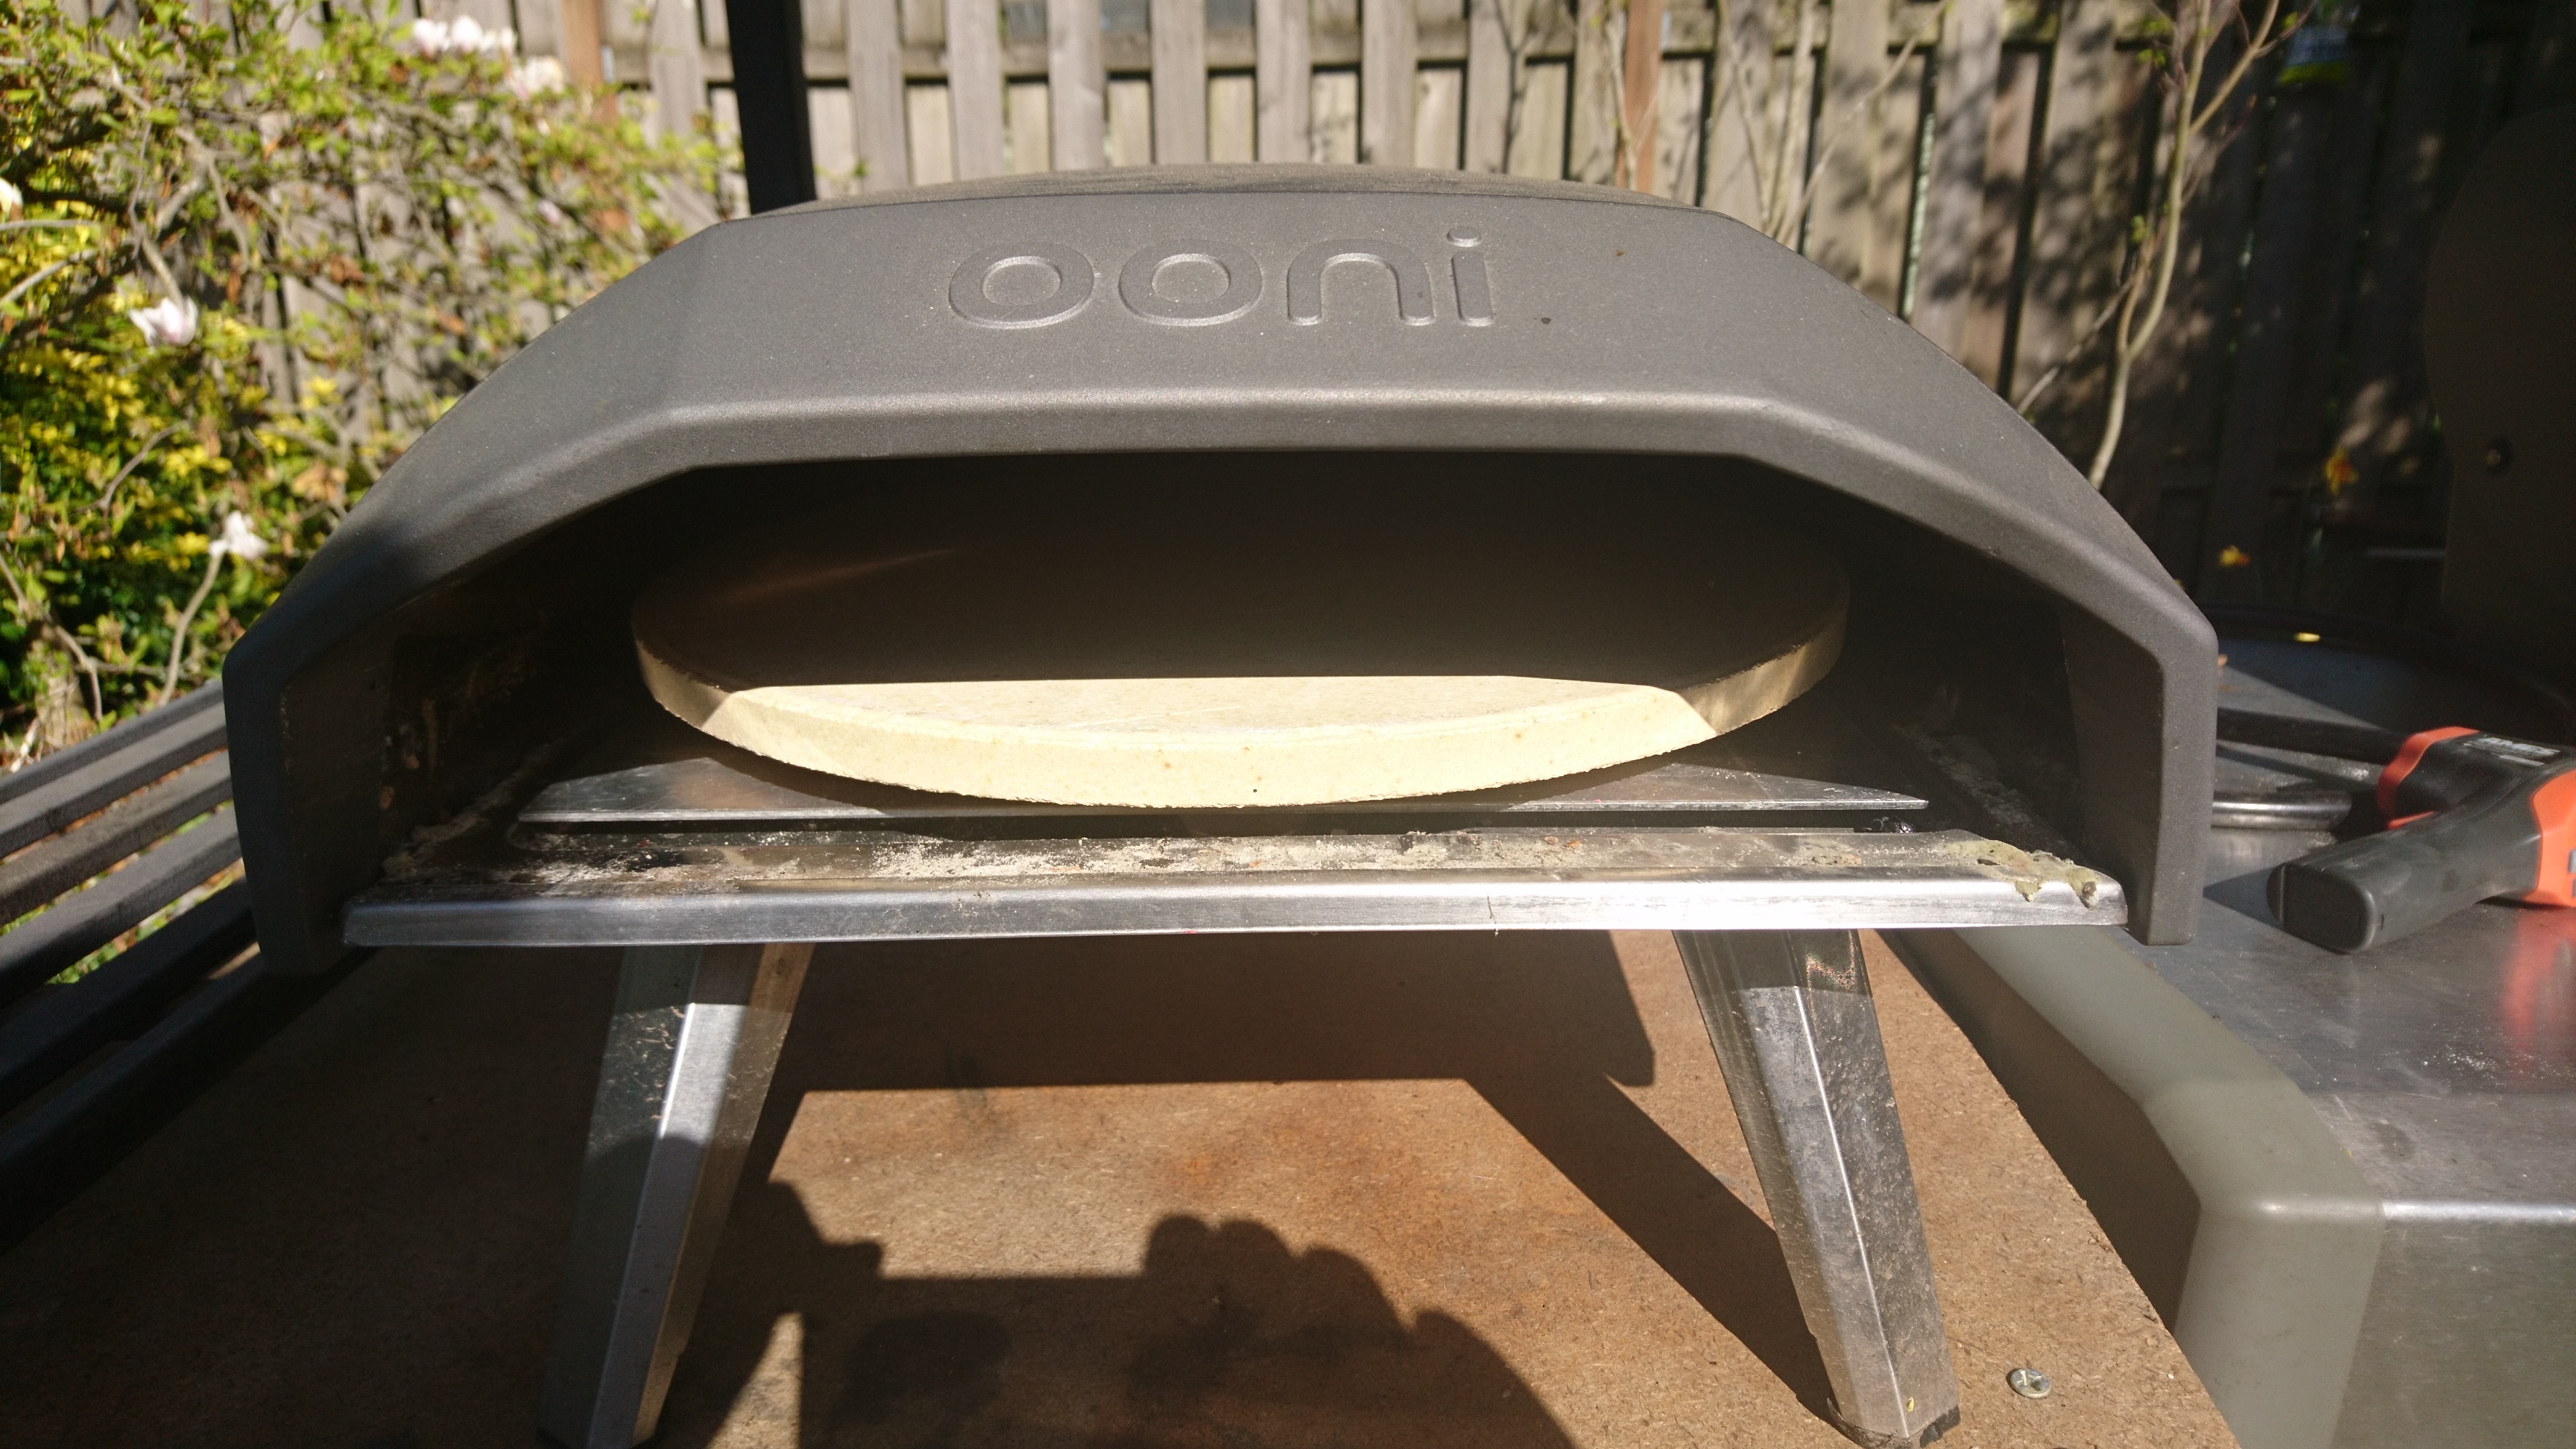
And, as desired, I can easily slide the turntable apparatus in and out of my Koda. This means I can still easily take it on the road, and I can put my custom square stone back in if I need to. I also thought it might be hard to deposit a pizza centered on a round stone, but it was really no trouble at all.
However, all is not perfect. First, those pizzas had a rather pale bottom crust. I haven't figured out why; I might not have pre-heated long enough. Or ... the turntable is taller than my 5/8" thick pizza stone, so it's also possible that it's raising the pizza enough that the top gets done before the bottom is. I need to tinker more. So, expect a Part 3; just don't expect it soon.